Photo by Joe Frazee #avgeek
Originally shared by Joe Frazee
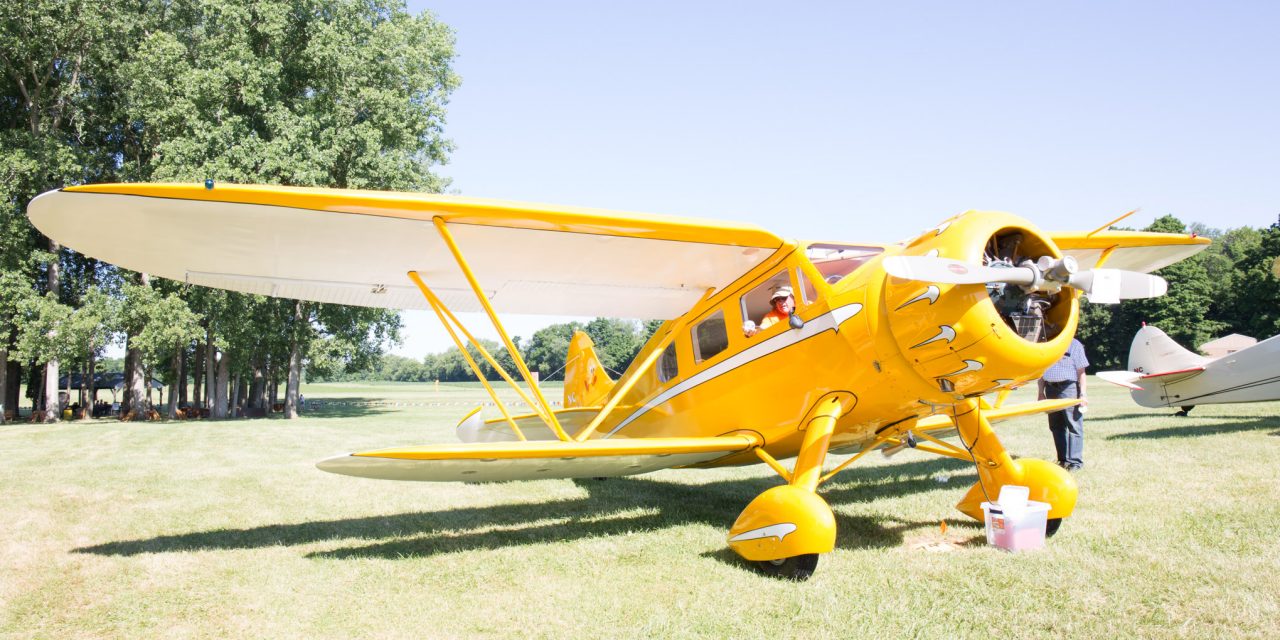
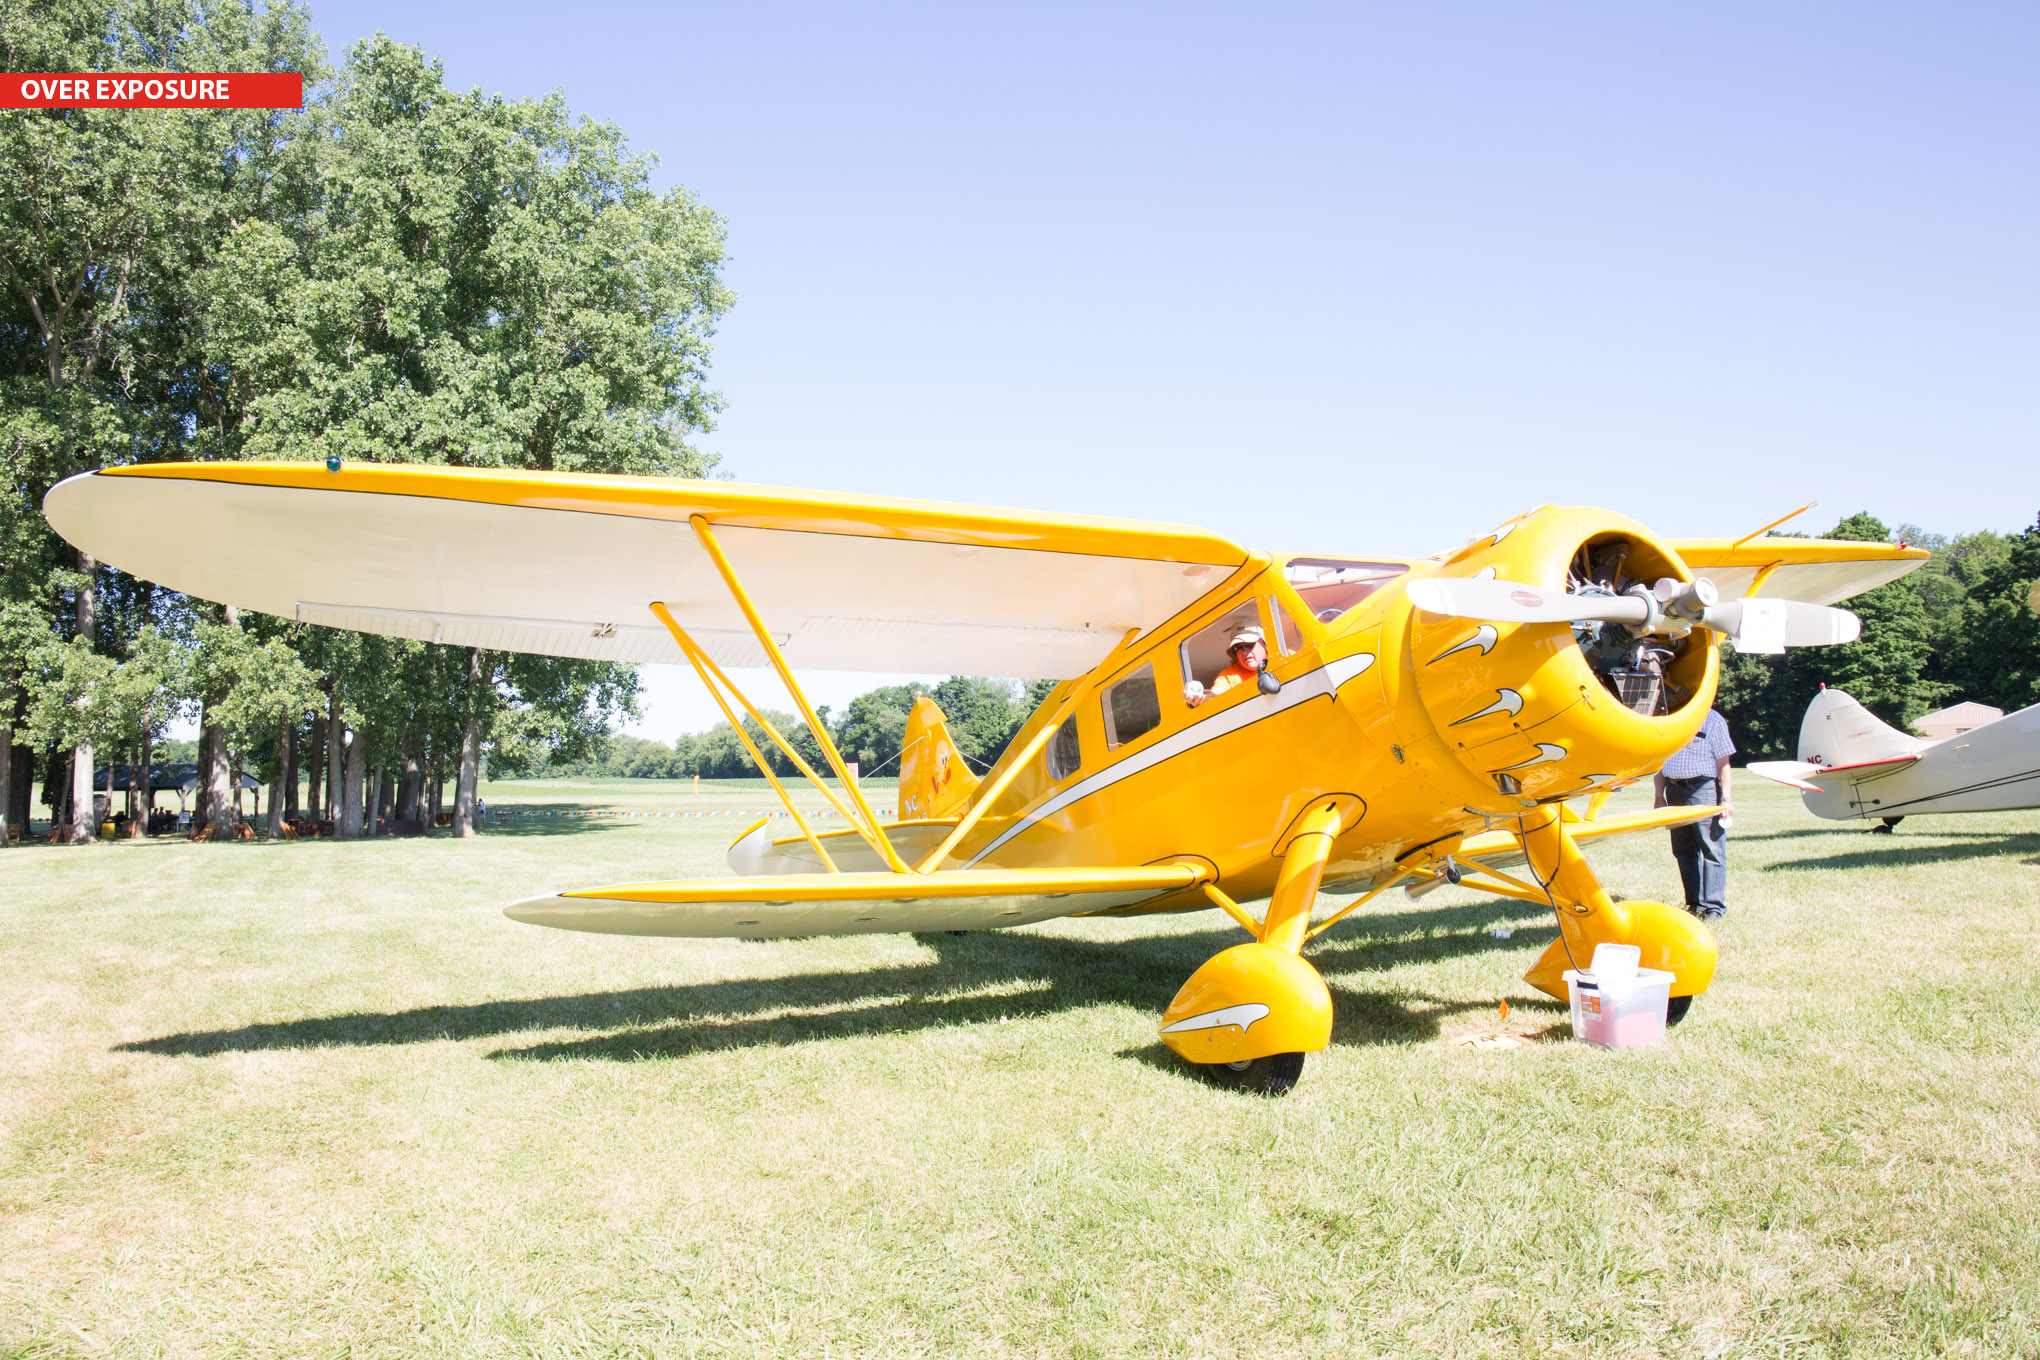
Lightroom Basic: Yellow Baron
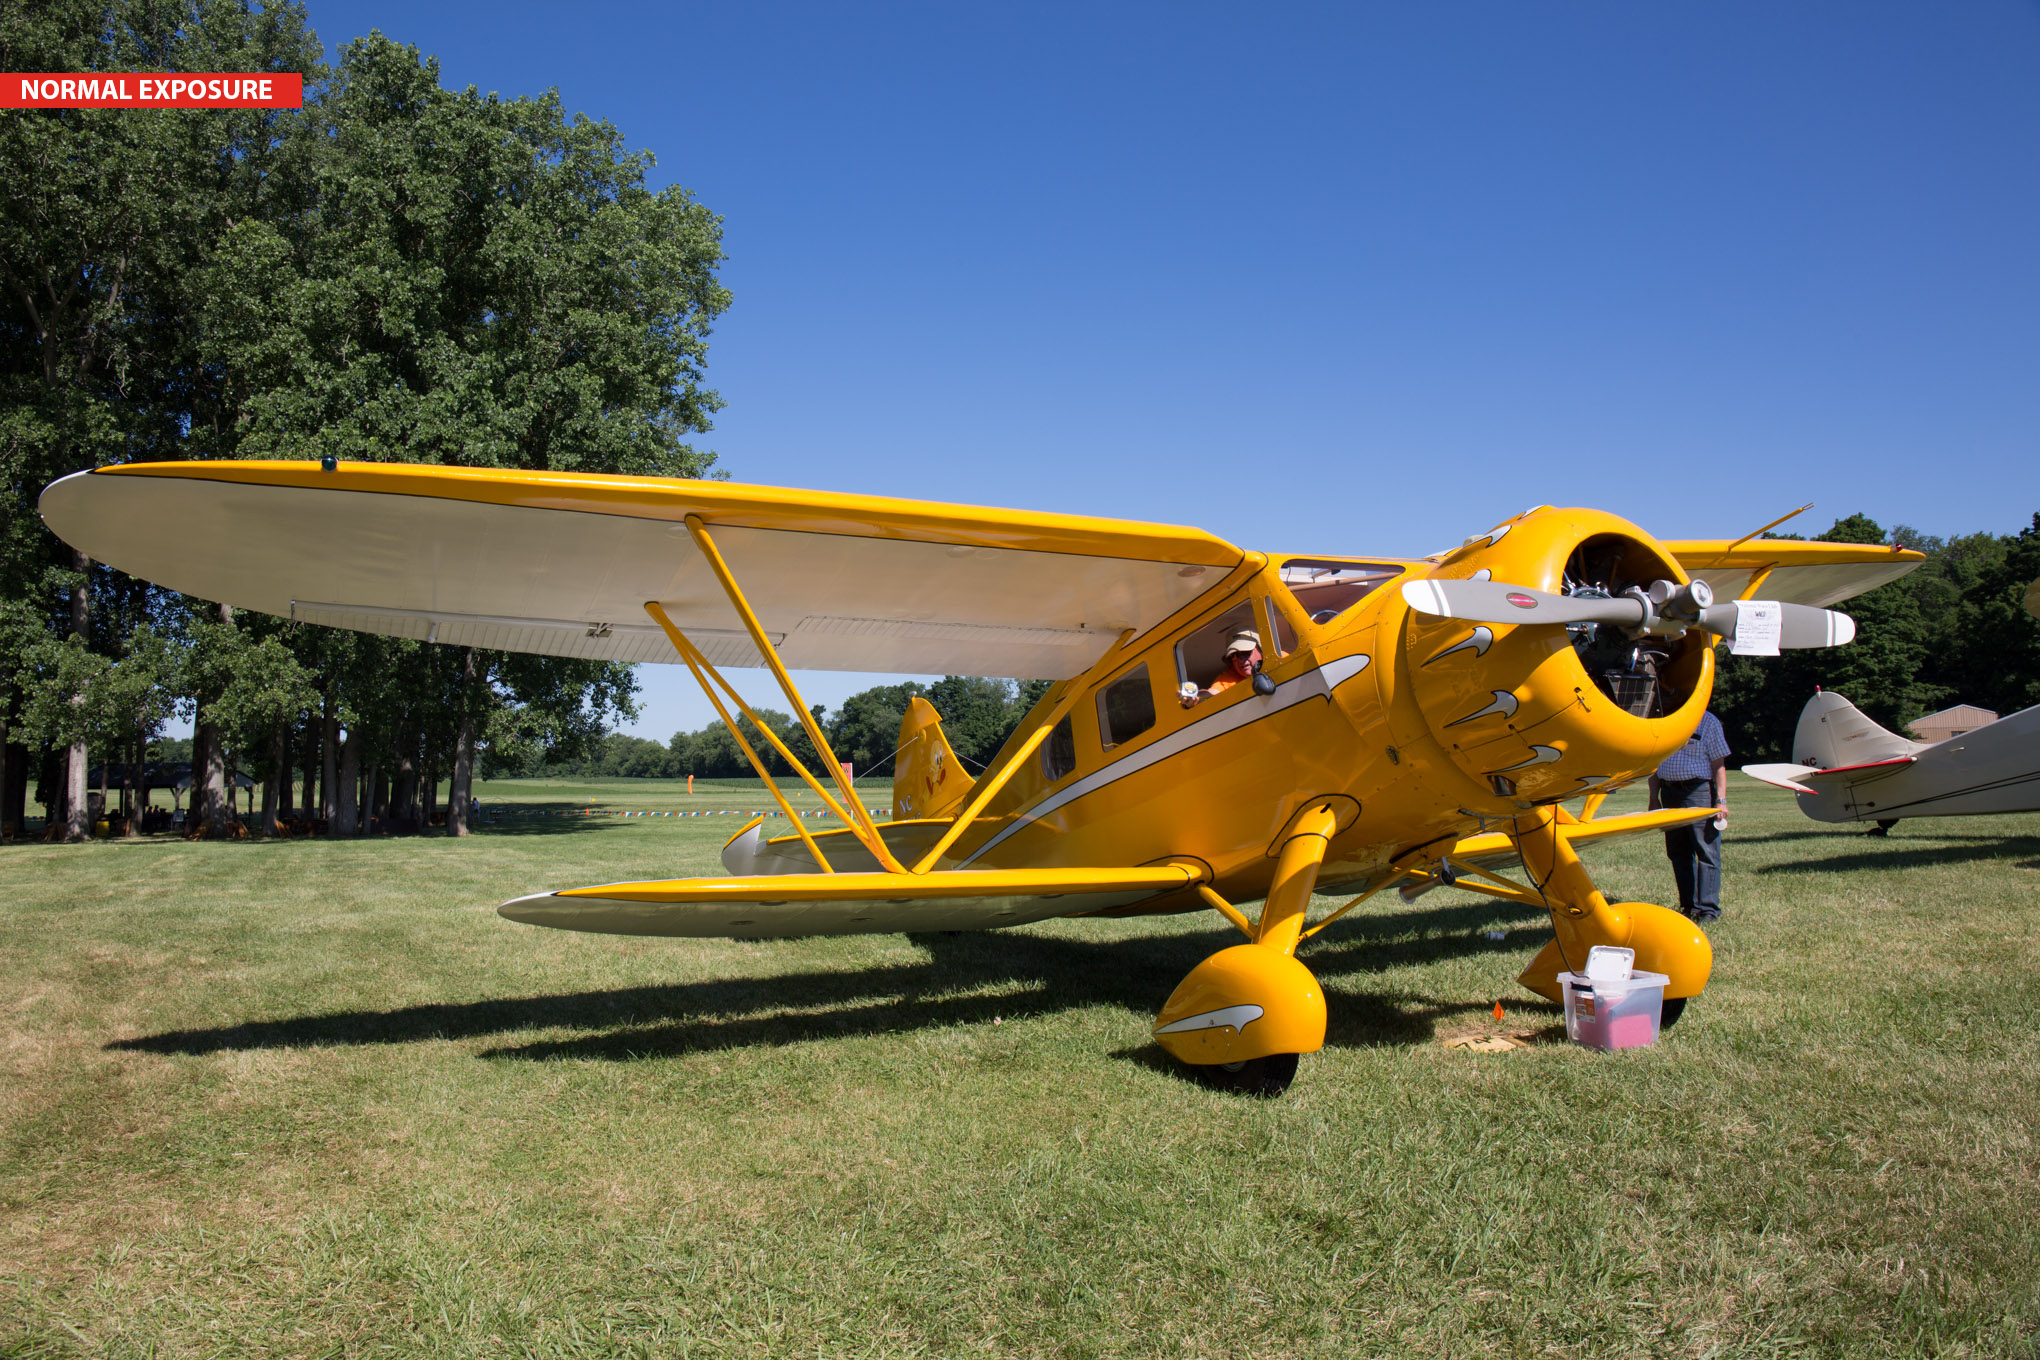
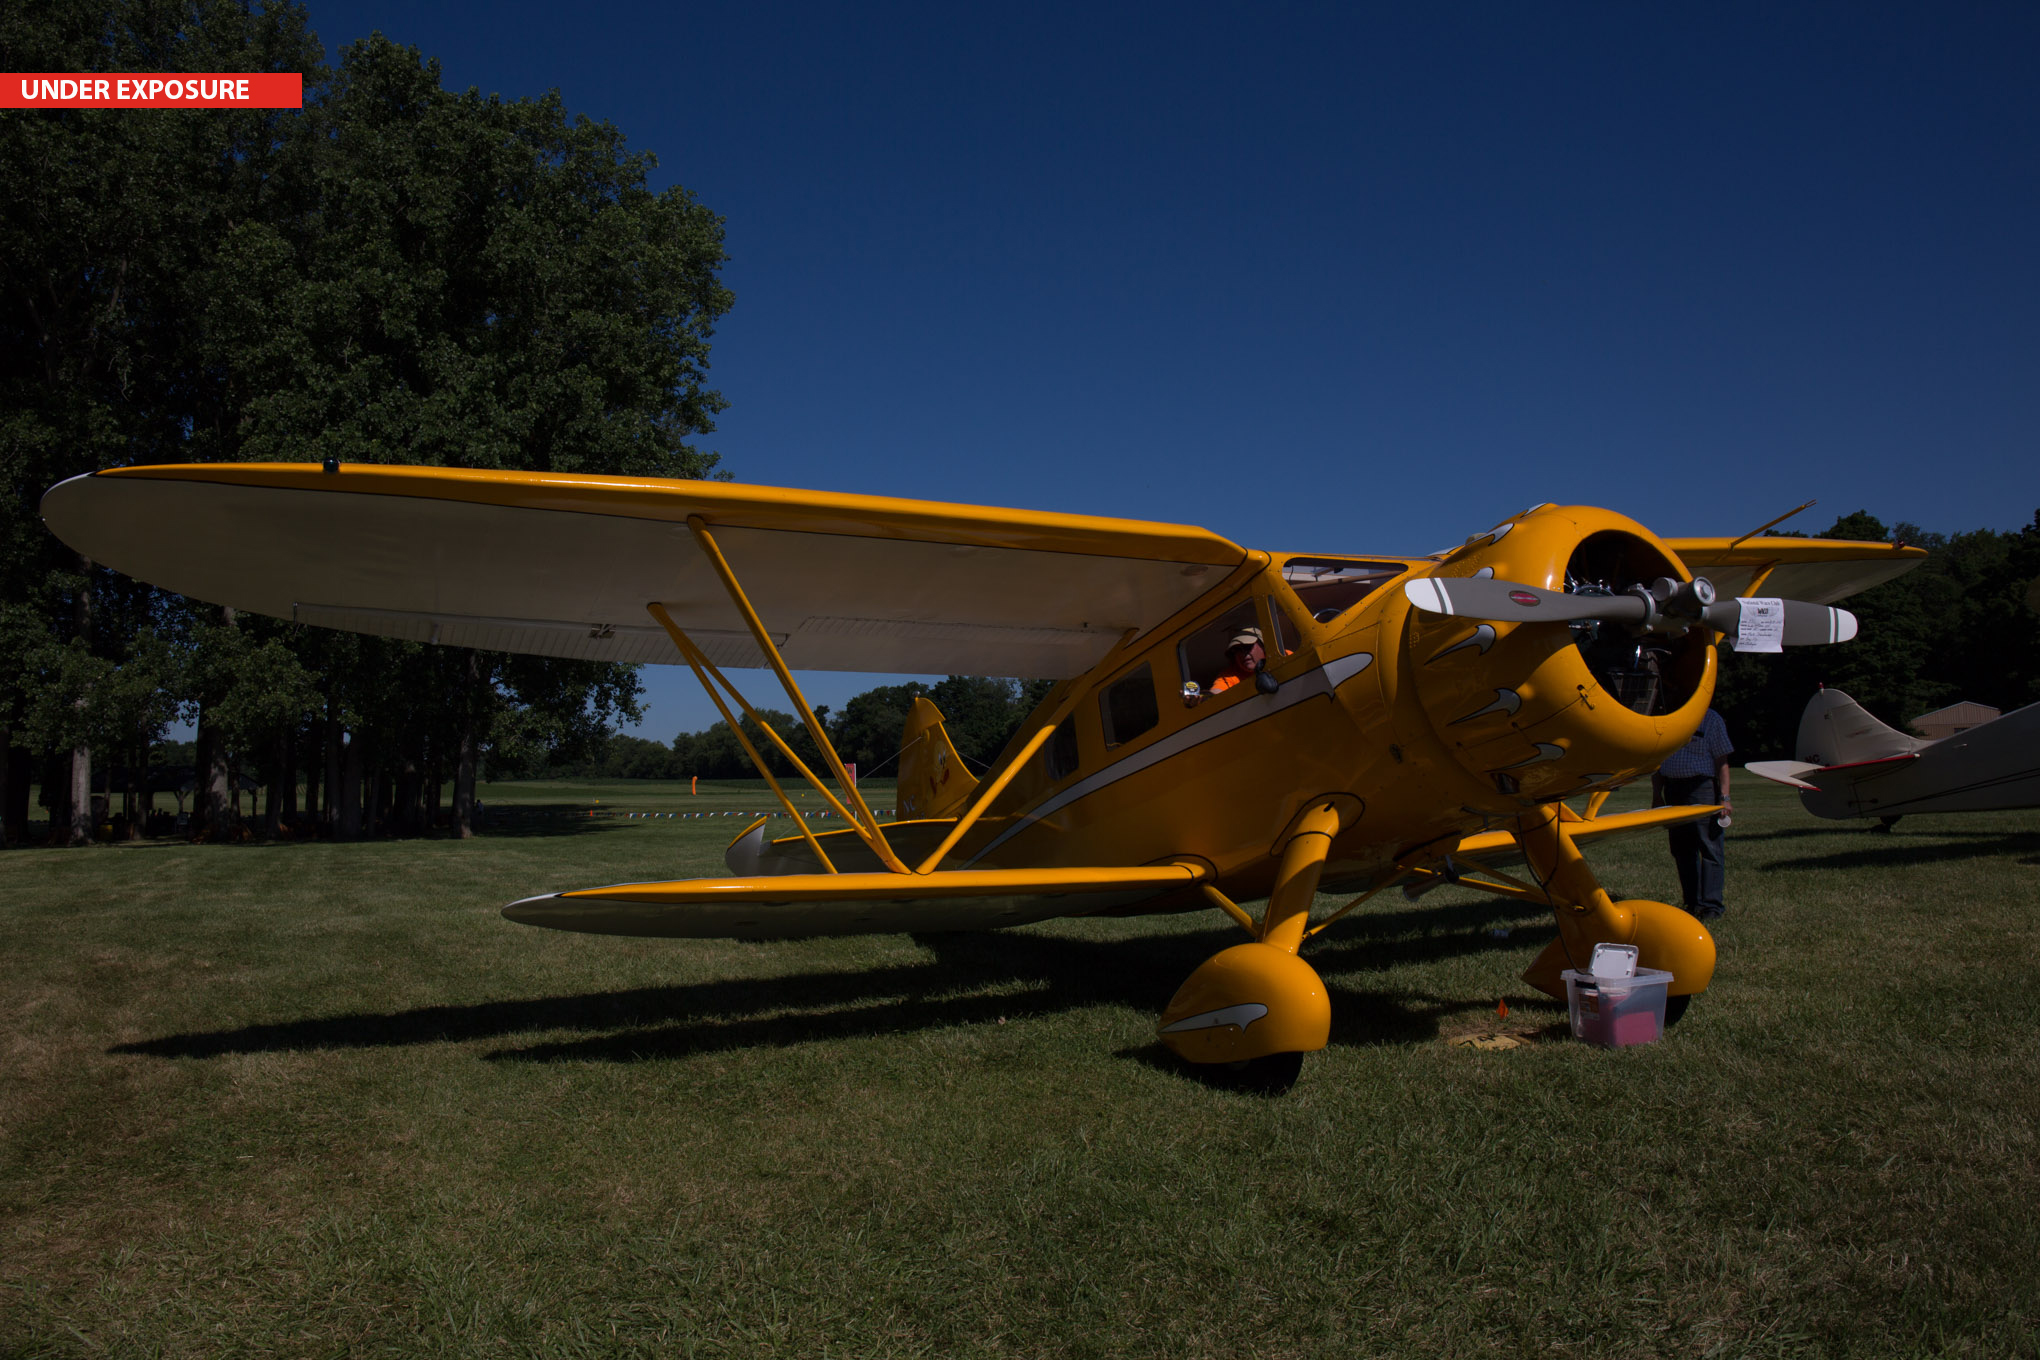
Once again, I am sticking with using nothing but Adobe Lightroom CC including using it’s built in Merge to HDR function to merge three exposures (normal exposure, under exposure, over exposure) on this shot from last June’s WACO Reunion.
Post-processing:
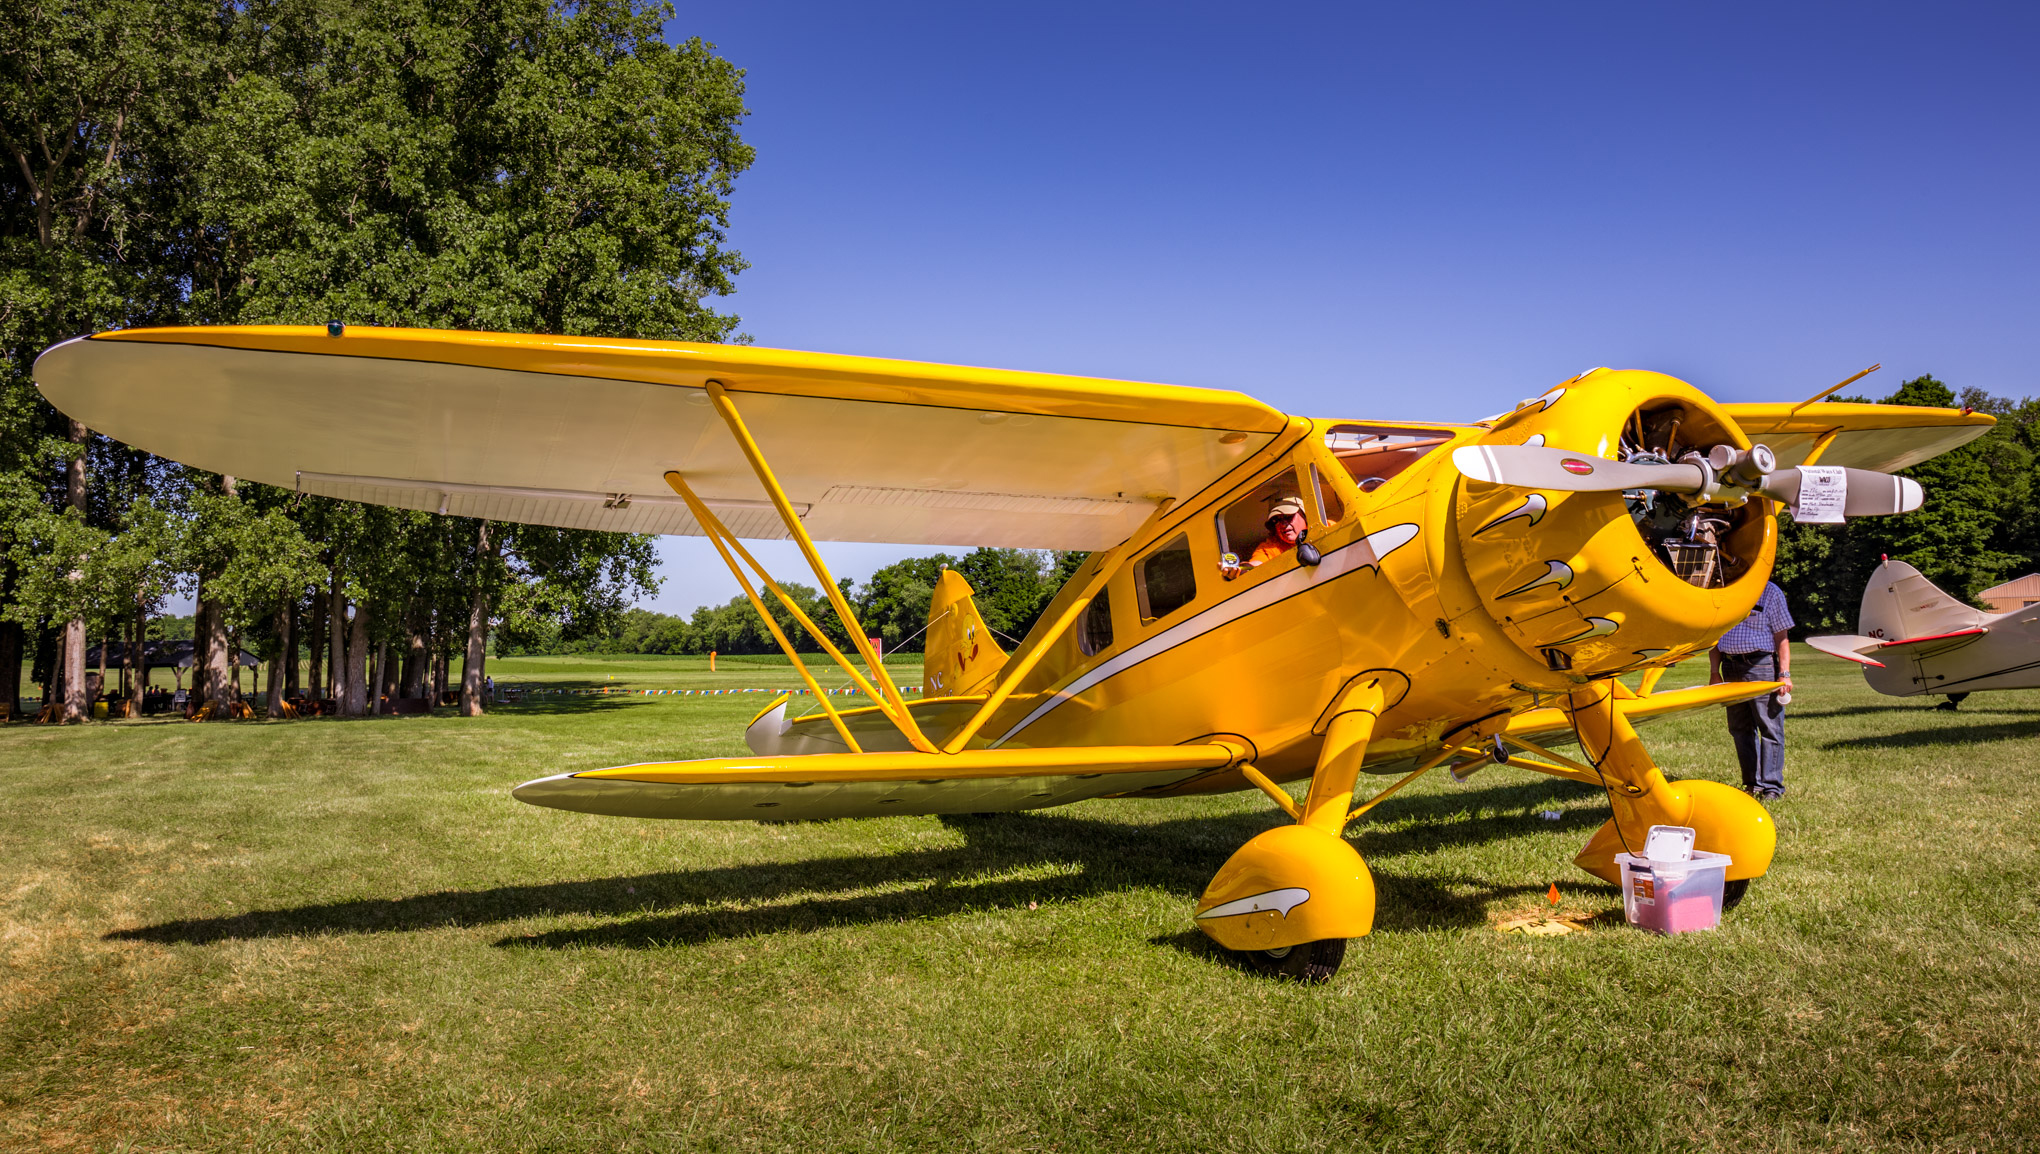
Starting first by merging three exposures done hand held by going under Photo > Photo Merge > HDR. I don’t do anything in the HDR box other than to merge the exposures into one HDR photo. Then moving onto the Develop Module to process the photo where I first start by cropping the photo. Move to the Basic panel, I applied the following settings: Temp 4,950, Tint +20, Exposure +0.55, Highlights -100, Shadows +70, Whites +15, Blacks -15, Clarity +37, Vibrance +28, and Saturation -12.
To punch up some of the color, I headed to the Color panel. In the Color panel, I made the following adjustments: Orange Saturation +76, Orange Luminance +31, Yellow Hue +31, Yellow Luminance -34, Green Saturation +68, and Green Luminance -36. To warm up the photo some, I used the Split Toning panel and applied the following: Highlights Hue 18, Highlights Saturation 8, Shadows Hue 20, and Shadows Saturation 17. Then under the Effects panel, I changed the Dehaze to +21.
From this point on, I used the built in tools to do the remaining touchups. I started first with the Graduated Filter to add a gradient to the sky and the grass in the foreground. Next, I used the Adjustment Brush to lighten and increase the saturation of the airplane as well as sharpen it to finish the photo off.
#beforeandafter #postprocessing #airplane #biplane #wacoreunion

Recent Comments